
One of my favorite Aha! moments listening to Barbara talk about her handmade books was the realization that she creates many of her books with individual pieces of art. By creating a series of same-size pages, she can more easily curate and assemble her favorite pages into a book.
This idea really resonated with me, as I have many blank handmade books that I’m afraid to write in for fear of messing them up! I loved the paste paper book I made at Rosie Kelly’s class; I envisioned adding gorgeous pointed pen calligraphy to the blank pages once my calligraphy was good enough – but a decade later I am still waiting!
If that sounds familiar, consider the many benefits of Barbara’s method where she designs her art first on separate pages and then binds the book later. Check out this preview movie from her Pointed Pen Possibilities class for one such example:
Not only do you reduce the stress of messing up your completed book, but there are many other advantages to single pages:
- If you don’t have the time or focus to tackle a large project, you can feel a sense of accomplishment when you complete a page.
- You can use different paper for some page; try using white ink on black paper for contrast.
- You can design a book with a theme if you are seeking a more unified result.
- You can have fun making abstract marks on a large sheet of paper and then cropping it down to make small pages.
- If you’re learning something new, you can create a sequence of pages to demonstrate your progress.
- You can also collaborate more easily with other artists as you only need to mail single pages.
In case you’re new to bookbinding, below are three simple bindings you could use to make a book of calligraphic art with separate pages:
Chicago Posts
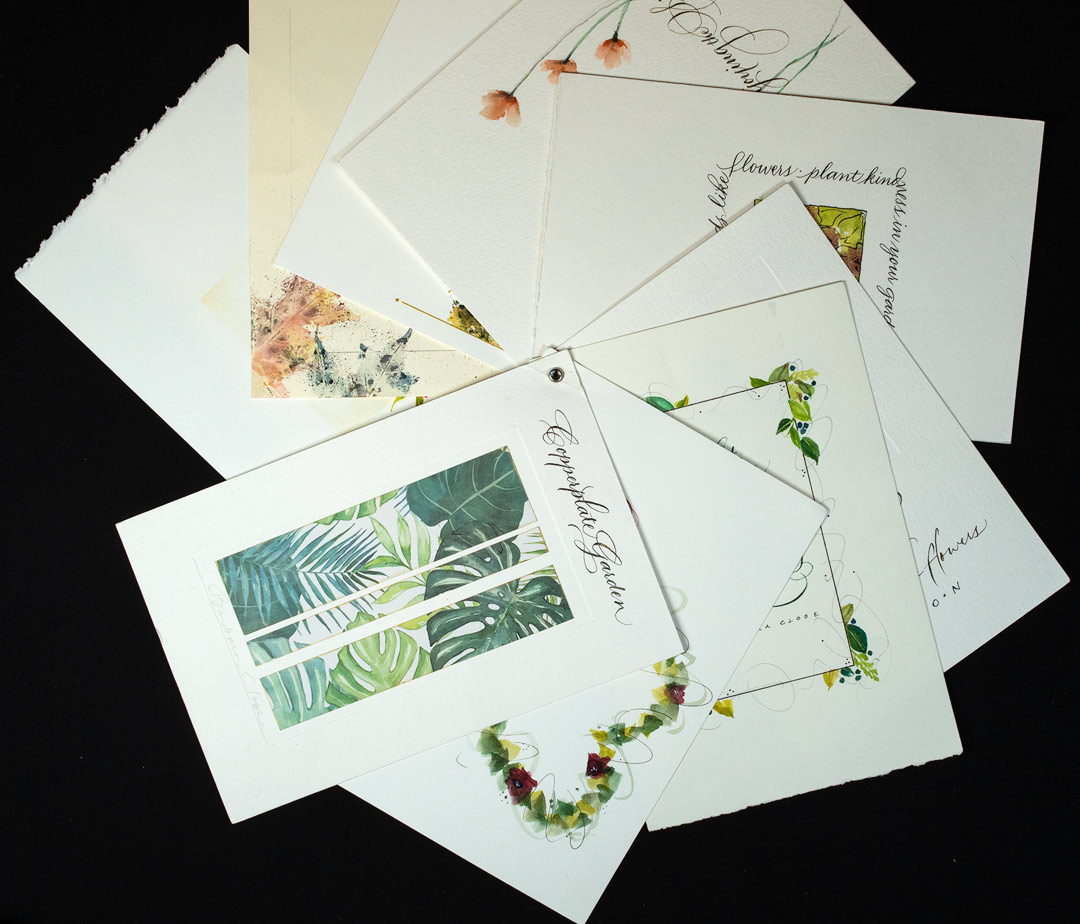
Barbara’s book Copperplate Garden (above) employs the simplest binding: Create a bunch of single pages, use an awl to punch a hole in the top left corner, and then assemble the pages with a screw post. The pages can fan out, and pages can be added or subtracted by undoing the screw post.
Search on Pinterest for “Chicago Posts” and you should find many options for screw post hardware.
Collaged pages
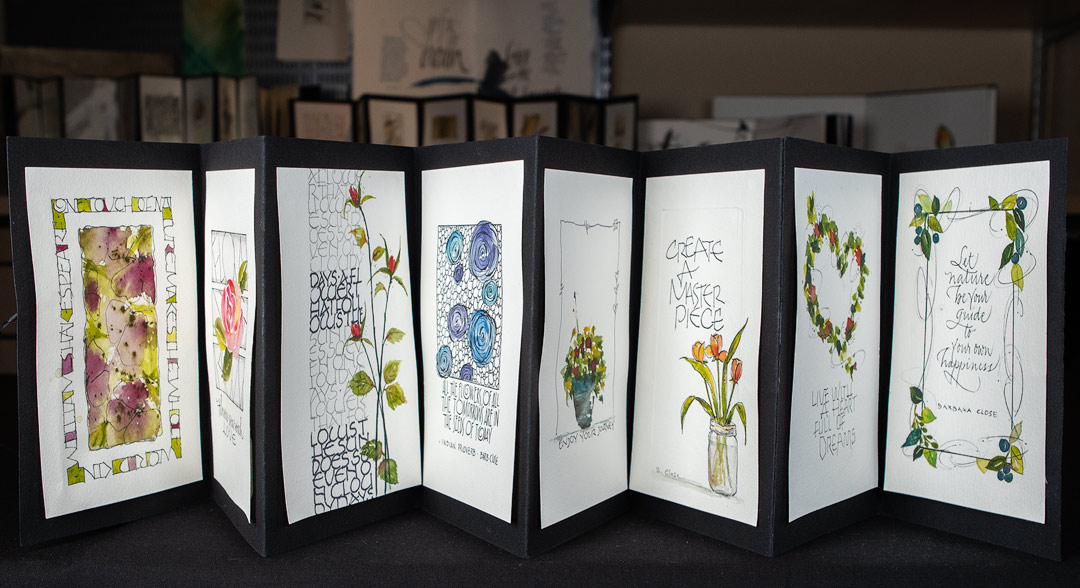
An accordion book can be as simple as a long sheet of heavyweight paper, folded into a zig-zag pattern to form a number of same-sized panels. In the book shown above, Barbara created her artwork on watercolor paper about two inches smaller (width and height) than the panel size, which resulted in a one inch border all the way around. Barbara glued her art pages along the top only and let each page dangle, but you may glue more liberally if your pages are curling up.
What glue should you use? Collage artist Sherrill Kahn recommends Scotch Create Glue Stick [Amazon], which is permanent, acid-free and photo safe. The advantage of using a glue stick is that it is far less likely to wrinkle the pages compared to a wet glue (such as PVA or paste).
Another option is to use a book structure with “windows” where your art is inserted into a sleeve or pocket that have cut-out areas for the art to peek through.
Side binding
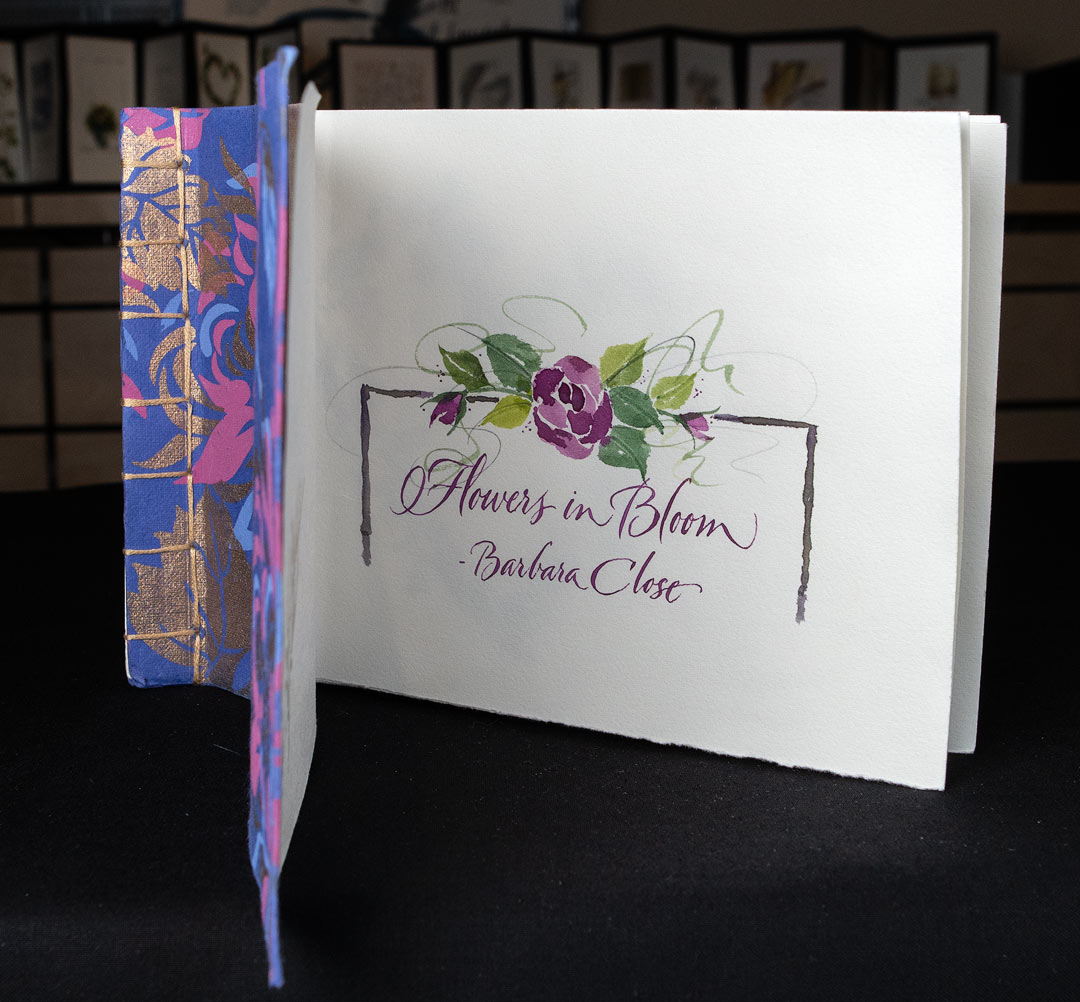
Barbara’s Flowers in Bloom book (above) is an example of side binding, which is usually landscape orientation (wider than it is tall). Also known as Japanese stab binding, variations range from a simple basic pattern to ornate designs like tortoise shell and dancing snowflakes.
One thing to watch is that side binding swallows up a few inches of paper on the left side of each page, so you’ll need to plan ahead when creating your art pages.
On the other hand, it’s also very flexible insofar as you can mix and match paper stock, and slight variations in paper size can add charm, especially when the paper is torn by hand.
Again, search on the web or Pinterest for “Japanese stab binding” and you’ll find links to many step-by-step tutorials.
Artists new to book binding might prefer to buy a book for more detailed instructions. Two books that include simple-to-follow side binding projects are:
Cover to Cover by Shereen LaPlantz [Amazon]
Creating Handmade Books by Alisa Golden [Amazon]
When you’re sewing these bindings, starting out with a long enough piece of thread is key, as there is no way to hide a knot inside the book (as you can do with coptic). This site offers a simple tutorial for stab binding covers, but if you scroll down there are four patterns linked at the bottom of the page which open to ingenious calculators where you can enter your own dimensions and get a custom pattern for hole punching! Note that I would recommend using more thread than recommended (eight times for tortoise shell).
Serious bookbinders might gravitate to Smith’s Sewing Single Sheets: Non-adhesive Binding Volume IV, by Keith Smith, available on Amazon or direct from the author.
I hope this has given you some ideas on how you can make a calligraphic handmade book with less stress, and avoid the “blank book” syndrome!

0 Comments